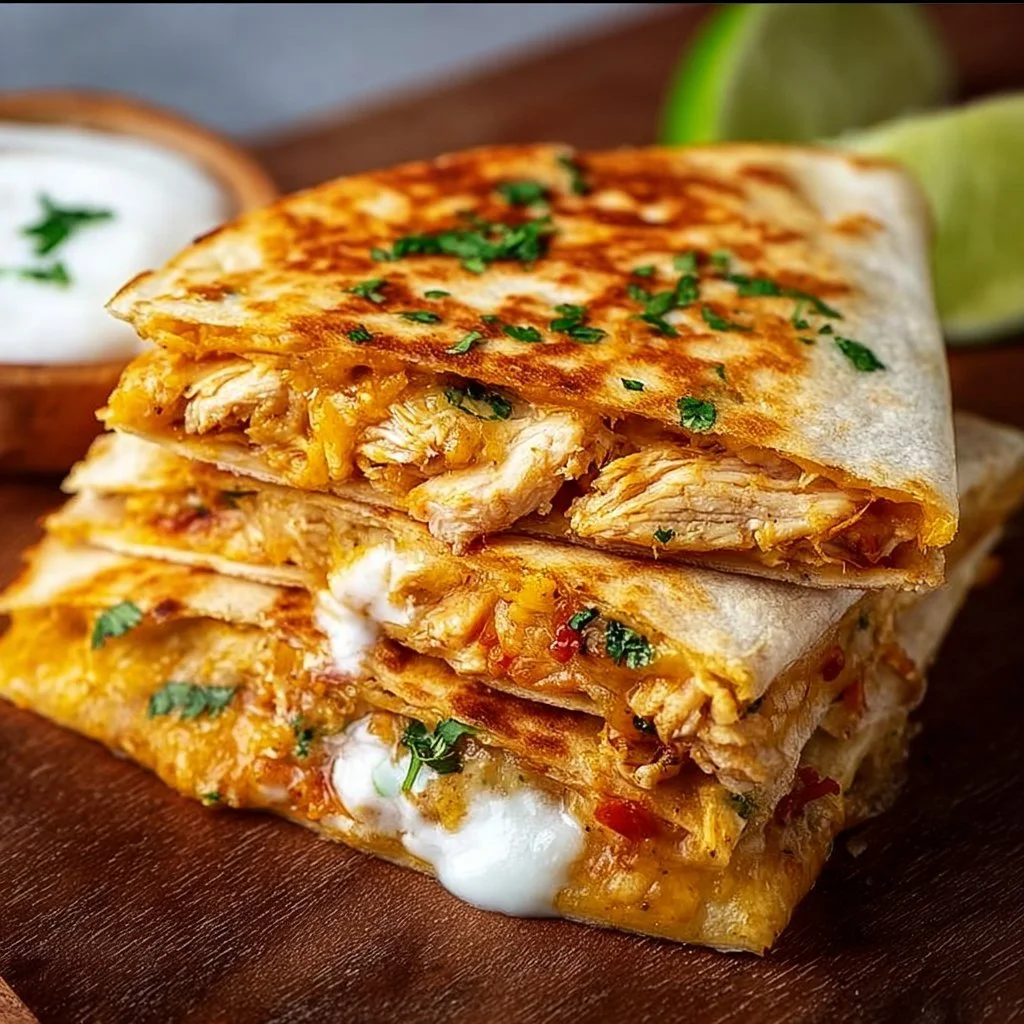
Crispy Chicken Quesadillas are the kind of cozy, hands-on meal that brings family and friends together over warm, cheesy goodness. Imagine tender shredded chicken folded into a blanket of melted cheddar and Monterey Jack, bright sautéed peppers and onions adding sweetness, and a golden, crunchy tortilla delivering a satisfying crack with every bite. This seasonal favorite is ideal when you want something quick to make from pantry staples yet feels special and comforting — perfect for crisp autumn evenings, lazy weekend lunches, or light dinner parties. If you’re inspired by chicken-forward comfort food, you can explore a wider collection of amazing chicken recipes for more ideas that pair beautifully with this dish.
Ingredients & Equipment
Below are the simple ingredients and everyday tools you’ll need to make Crispy Chicken Quesadillas. This ingredient list is halal-friendly and flexible, so you can adapt it based on what you have on hand.
- 2 cups cooked chicken, shredded (roasted, boiled, or store-bought halal rotisserie)
- 1 cup shredded cheese (cheddar or Monterey Jack)
- 4 large flour tortillas
- 1/2 cup bell peppers, diced (any color or a mix)
- 1/2 cup onion, diced (yellow, white, or sweet onion)
- 1 tablespoon olive oil
- Salt and pepper to taste
- Sour cream and salsa for serving
Helpful notes:
- If you prefer a smokier flavor, add a pinch of smoked paprika or a bit of mild chili powder to the chicken mixture.
- For a lighter version, swap one tortilla for a whole wheat or low-carb tortilla; cooking times are similar.
Recommended tools:
- Large nonstick skillet or cast-iron pan — for even browning and a great crust
- Spatula (sturdy metal or heatproof silicone)
- Mixing bowl
- Cheese grater (if shredding block cheese)
- Baking tray (if finishing in the oven or warming multiple quesadillas)
- Instant-read thermometer (optional, if reheating chicken to safe temperature)
If you’d like a comforting soup to serve alongside your quesadillas on a chilly day, consider this aromatic ginger garlic chicken noodle soup for a soothing pairing.
Step-by-Step Instructions (with tips)
1. Prepare the vegetables and chicken
Heat 1 tablespoon olive oil in a skillet over medium heat. Add the diced onion and diced bell peppers and sauté until softened and slightly caramelized, about 5–7 minutes. Cook until the onions are translucent and the peppers have lost their raw edge but still hold some texture. This gentle sauté adds sweetness and color without overwhelming the other flavors.
Tip:
Add a small pinch of salt while sautéing the vegetables — it helps draw out moisture and concentrates their flavor. If you prefer crunchier peppers, sauté for a shorter time.
2. Combine the filling
Transfer the sautéed vegetables to a bowl. Add the 2 cups of shredded cooked chicken and 1 cup of shredded cheese. Season with salt and pepper to taste and toss until well combined. If your chicken is plain, add a quarter teaspoon of ground cumin or a light dusting of smoked paprika for warmth and depth.
Variation — roasting vs. boiling chicken
If you’re starting with raw chicken, you can roast or boil it depending on the texture you want. Roasted chicken (seasoned with a drizzle of olive oil, salt, pepper, and a squeeze of lemon) gives a richer, slightly charred flavor that works wonderfully in quesadillas. Boiled (or gently simmered) chicken yields very tender, milder meat that is perfect if you want the cheese and veggies to shine. Both are completely halal-friendly — choose based on your preferred texture and time available.
3. Assemble the quesadillas
Place a large tortilla in the preheated pan over medium-low heat. Spoon an even layer of the chicken mixture onto one half of the tortilla, spreading it to the edge but not overfilling. Fold the other half of the tortilla over the filling to create a semicircle.
Tip:
Press the quesadilla gently with the spatula to encourage even contact between the tortilla and the pan, helping the cheese melt and the tortilla crisp. If you like extra gooey cheese, sprinkle a little additional shredded cheese along the fold before pressing.
4. Cook until golden and crispy
Cook each side for about 3–4 minutes, flipping once, until both sides are golden brown and crispy and the cheese is melted inside. If you’re working with a cast-iron skillet, you can get a beautiful, even crust; a nonstick pan works well too and is easier for less experienced cooks.
Tip:
Keep the heat at medium-low to medium. Too high a heat will brown the tortilla before the cheese has melted; too low, and you won’t get that satisfying crisp. If the tortilla browns too quickly, lower the heat and cover the pan for a minute to help the cheese melt through residual heat.
5. Repeat and keep warm
Repeat with the remaining tortillas and filling. To keep cooked quesadillas warm while you finish the batch, place them on a baking tray in a 200°F (95°C) oven for up to 20 minutes — they’ll stay crisp without overcooking.
6. Slice and serve
Transfer each cooked quesadilla to a cutting board and slice into wedges (four wedges per tortilla is standard). Serve immediately with sour cream and your favorite salsa. Fresh garnish like chopped cilantro, sliced green onions, or a squeeze of lime brightens each bite.
Oven or air-fryer finish (alternative crisping)
If you prefer to make several quesadillas at once, assemble them and place on a baking sheet lined with parchment paper. Bake at 400°F (200°C) for 8–12 minutes, flipping once, until golden and crispy. For an air fryer, cook assembled quesadillas at 375°F (190°C) for 6–8 minutes per side, in batches as needed. Keep an eye on them to avoid over-browning.
Storage, Freezing & Make-Ahead Tips
These quesadillas are forgiving and store well, which makes them perfect for meal prep or quick weeknight dinners. Here’s how to get the best results when saving or freezing leftovers.
- Refrigerating leftovers: Store cooled quesadillas in an airtight container or wrapped tightly in foil in the refrigerator for up to 3 days. Reheat in a skillet over low-to-medium heat, flipping once, until warmed through and the tortilla regains crispness.
- Freezing cooked quesadillas: Wrap individual cooled quesadillas in parchment and then in foil or place them in a freezer-safe bag. Freeze flat for up to 2 months. Reheat from frozen in a 375°F (190°C) oven for 10–15 minutes, flipping once, or warm in an air fryer for 8–10 minutes until heated through and crispy.
- Freezing uncooked/assembled quesadillas: Assemble but don’t cook: separate each assembled quesadilla with parchment, wrap in foil, and freeze. Cook straight from frozen in a skillet (add a minute or two per side) or bake from frozen on a sheet for 12–18 minutes at 400°F (200°C).
- Make-ahead filling: Prepare the chicken-vegetable filling up to 3 days ahead and store in the fridge. When ready to cook, assemble and pan-fry for the freshest texture.
How to Use / Serve This Dish
Crispy Chicken Quesadillas are versatile — serve them as a casual meal, party finger food, or part of a seasonal spread. Here are some serving ideas and creative variations to try:
- Classic sides: Sour cream, chunky salsa, guacamole, and a simple mixed-green salad are timeless companions. A scoop of plain yogurt with lemon and herbs makes a refreshing dip that complements the warm, cheesy quesadilla.
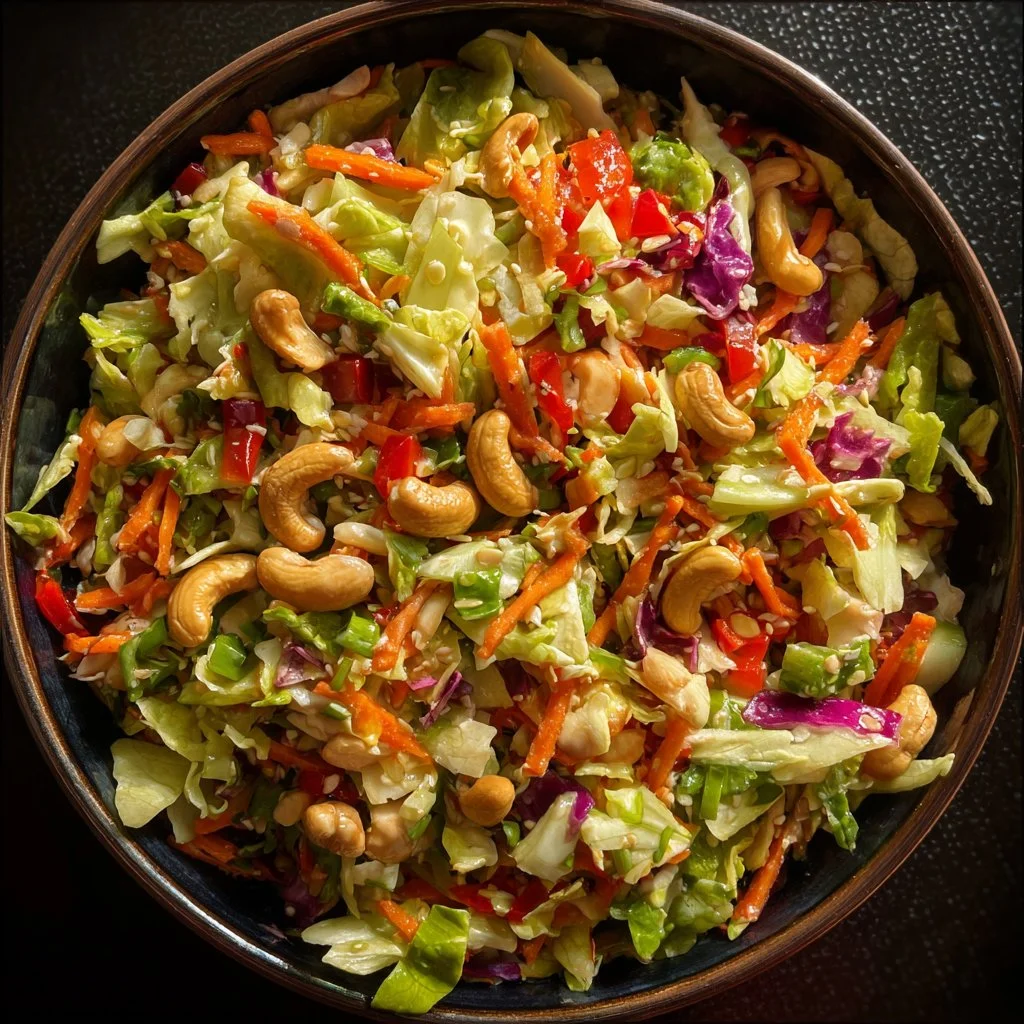
- Seasonal pairings: In cooler months pair with a hearty soup or stew; in warmer months serve with a crisp corn salad or citrusy slaw. If you like a crunch-forward salad with your quesadillas, pair it with this Asian chicken crunch salad for a bright, textural contrast.
- Flavor swaps: Add roasted corn, black beans, or diced avocado into the filling for heartier quesadillas. For a Mediterranean twist, swap the cheese for shredded mozzarella and add chopped tomatoes, spinach, and a drizzle of tahini after cooking.
- Make it a party: Slice mini quesadillas into bite-sized wedges and serve on a platter with assorted dips for an appetizer spread. Provide toothpicks so guests can enjoy them easily.
FAQ
Can I use frozen chicken or store-bought rotisserie chicken?
Yes. If using frozen chicken, thaw it safely in the refrigerator before shredding and reheating. Store-bought rotisserie chicken is a fantastic time-saver and works great in this recipe, just ensure it’s sourced from a halal-certified supplier if that’s important to you.
How do I make the quesadillas crispy without using a lot of oil?
Use a well-heated nonstick or cast-iron skillet and keep the heat at medium-low. The tortilla will crisp up from the direct dry heat; a light brush of olive oil or a quick wipe with an oiled paper towel is enough. You can also use an oven or air fryer to achieve a crisp exterior with minimal added fat.
What are good cheese substitutes if I don’t have cheddar or Monterey Jack?
Mild mozzarella or a semi-soft cheese like provolone will melt nicely and are good substitutes. If you’d like a sharper flavor, try a small amount of manchego or a crumbly feta mixed in, though feta is less melty and will change the texture.
How long do cooked quesadillas last in the fridge?
Store them in an airtight container for up to 3 days. Reheat gently in a skillet or oven to keep the tortillas crisp and ensure the chicken reaches a safe internal temperature when reheated.
Conclusion
Crispy Chicken Quesadillas are simple, comforting, and endlessly adaptable — a perfect seasonal recipe for when you want something homemade, satisfying, and quick to prepare. Whether you’re cooking for a busy weeknight dinner, a cozy weekend gathering, or packing delicious leftovers for the next day, this recipe delivers on texture and flavor while staying fully halal-friendly. Give it a try, tweak the fillings to suit your family’s tastes, and don’t forget to share your favorite variations with friends and loved ones — there’s something wonderful about food that brings people together.

Crispy Chicken Quesadillas
Ingredients
Main Ingredients
- 2 cups cooked chicken, shredded (roasted, boiled, or store-bought halal rotisserie)
- 1 cup shredded cheese (cheddar or Monterey Jack)
- 4 large flour tortillas
- ½ cup bell peppers, diced (any color or a mix)
- ½ cup onion, diced (yellow, white, or sweet onion)
- 1 tablespoon olive oil
- to taste Salt
- to taste Pepper
For Serving
- Sour cream
- Salsa
Instructions
Preparation
- Heat 1 tablespoon olive oil in a skillet over medium heat. Add the diced onion and bell peppers, sauté until softened and slightly caramelized, about 5–7 minutes.
- Transfer the sautéed vegetables to a bowl. Add the shredded chicken and shredded cheese. Season with salt and pepper to taste and toss until well combined.
Cooking
- Place a tortilla in the preheated pan over medium-low heat. Spoon an even layer of the chicken mixture onto one half of the tortilla and fold the other half over.
- Press the quesadilla gently with a spatula and cook each side for about 3–4 minutes, until both sides are golden brown and crispy.
- Repeat with remaining tortillas and filling, keeping cooked quesadillas warm in an oven at 200°F (95°C).
- Slice each quesadilla into wedges and serve immediately with sour cream and salsa.