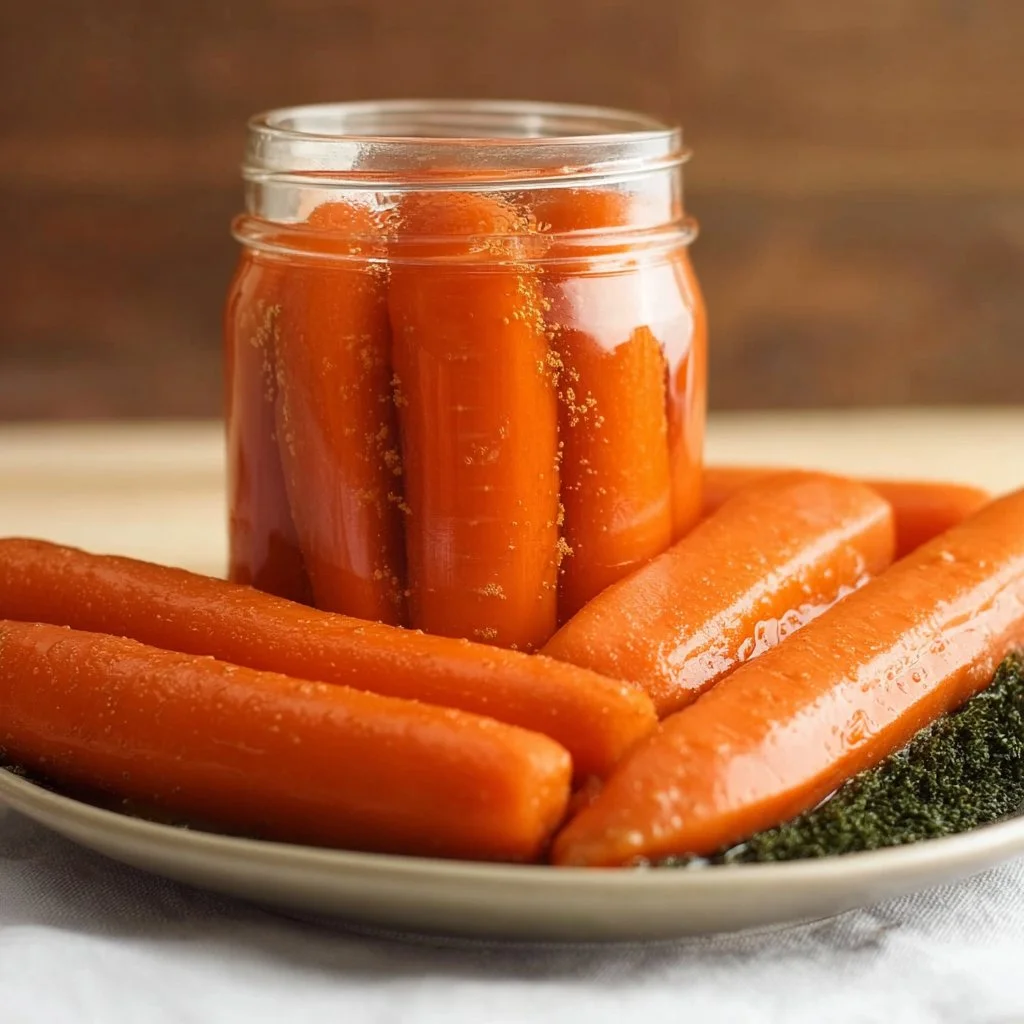
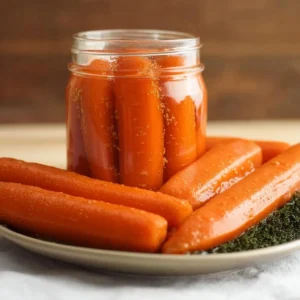
Fermented Carrots. If you love simple, seasonal projects that fill your kitchen with bright color and tangy aroma, this is one to try. These crunchy, slightly sour carrot sticks highlight the carrot’s natural sweetness while softening its snap with a mellow lactic tang. Using just carrots, salt, water, garlic and dill (plus an optional pinch of spices), you’ll get a probiotic-rich snack or condiment that’s crunchy, refreshing, and perfect for spring and summer harvests or for bringing sunshine to winter meals. Fermented carrots are forgiving, cheerful, and a lovely way to preserve a bumper crop or to add a bright pop to weekday lunches.
Ingredients & Equipment
Ingredients
- Carrots — fresh, firm carrots (any variety). Baby carrots or full-size carrots both work.
- Garlic — 1–3 cloves per jar, sliced or lightly crushed.
- Dill — fresh sprigs (or a teaspoon dried if fresh isn’t available).
- Water — filtered or distilled is best if your tap water is heavily chlorinated.
- Salt — non-iodized salt (sea salt, pickling salt, or kosher salt). No iodized table salt.
- Spices (optional) — red pepper flakes for spicy fermented carrots, mustard seeds, coriander seeds, black peppercorns, bay leaf, or a slice of ginger.
Notes
- Use firm, blemish-free carrots for the best texture.
- Avoid using iodized salt or salts with anti-caking agents.
- Adjust spices to your family’s taste preferences.
Helpful Tools
- Mason jars or similar glass jars with wide mouths (quart or pint size).
- Fermentation weight or a small clean jar/zip-top bag filled with brine to keep carrots submerged.
- A lid with airlock or a loose lid (see instructions); fermentation lids are handy but optional.
- Vegetable peeler and a sharp knife or a mandoline for consistent sticks.
- Small saucepan to dissolve salt (optional) and a measuring scale or spoons.
- Clean tray or towel for setup, and a thermometer if you like to monitor room temperature.
Step-by-Step Instructions (with tips)
Below is a simple, reliable way to make fermented carrots at home. I’ll include tips and variations so you can customize the flavor and texture.
Wash and cut the carrots into sticks.
- Wash carrots thoroughly and peel if you prefer (peeling is optional).
- Cut carrots into sticks about 3–4 inches long and ¼–½ inch thick so they fit upright in your jar.
- Tip: For a rustic look, slice some rounds or batons for mixed textures. Thicker pieces ferment a little slower and stay crunchier; thin sticks ferment faster and become tangier sooner.
In a saucepan, heat water and dissolve salt to create a brine.
- Make a brine using roughly a 2% salt solution for reliable fermentation: about 20 grams (about 1 tablespoon + 1 teaspoon) of salt per 1 liter (4 cups) of water. If you don’t have a scale, a common home ratio is 1 tablespoon of salt per 2 cups (480 ml) water — good for small batches.
- Heat the water just enough to dissolve the salt, then remove from heat and let cool to room temperature before using.
- Tip: You can dissolve salt in cold water without heating; heating speeds up dissolving but ensure brine is cooled before adding to carrots to preserve any wild cultures if you’re relying on raw surface microbes.
Add garlic and dill (or other spices) to the brine.
- You can add whole garlic cloves and a couple of dill sprigs directly into the jar with the carrots, or place them in the jar first and pour brine over.
- Optional spices like red pepper flakes, mustard seeds, or a few slices of ginger can be added at this stage for flavor. For spicy fermented carrots, add a pinch of red pepper flakes per jar.
Place the carrot sticks in a clean jar and pour the brine over them, ensuring they are fully submerged.
- Pack the carrot sticks tightly but without smashing them, leaving about 1–1.5 inches headspace at the top of the jar.
- Use a fermentation weight or a small clean object (like a smaller jar or a zip-top bag filled with brine) to keep carrots submerged under the brine. Submersion prevents mold and promotes the lactic acid bacteria to dominate.
- Tip: If you like crispier fermented carrots, tamp them down firmly so there are fewer air pockets. Also, consider blanching or roasting the carrots briefly before fermenting for a softer, sweeter profile — see variations below.
Seal the jar loosely to allow fermentation gases to escape.
- You can use the jar’s lid screwed on loosely (turn until you feel resistance and then back off a half turn) or use a fermentation lid with an airlock. Alternatively, cover the jar with a clean cloth and secure with a rubber band.
- Tip: If using a tight metal lid, “burp” the jar daily by opening it to release gas. This reduces pressure and prevents spillage.
Let the carrots ferment at room temperature for 3–7 days, checking daily.
- Fermentation time depends on room temperature and your taste preference. At 68–72°F (20–22°C), carrots often reach a pleasant tang in 3–5 days. Cooler rooms slow the process; warmer rooms speed it up.
- Check daily: ensure carrots remain submerged, skim any white kahm yeast if it appears (it’s harmless but can affect taste), and smell for off odors. A pleasantly tangy, slightly yeasty smell is normal. Discard if there’s fuzzy mold or a strong rotten odor.
- Tip: Taste a piece after 3 days; when it reaches the level of tang you like, transfer the jar to the refrigerator to slow fermentation.
Once fermented to your liking, seal the jar tightly and store in the fridge.
- Tighten the lid and move the jar to the refrigerator to slow fermentation dramatically. The flavor will continue to develop slowly in the fridge.
- Fermented carrots can last for months refrigerated, but for best texture and flavor enjoy them within 2–3 months.
Variations and flavor suggestions
- Roasted vs. raw carrots: Roasting carrots briefly (toss with a little oil and roast at 400°F/200°C for 10–15 minutes until slightly tender) before fermenting yields a softer, sweeter pickle with a caramelized undertone. Raw carrots give a crisper, brighter result.
- Herb and spice combos: Try dill + garlic for classic flavor, thyme + bay leaf for a savory twist, or coriander + mustard seeds for a slightly earthy, aromatic note.
- Asian-inspired: Add sliced ginger, garlic, and a pinch of turmeric for color and warm flavor.
- Korean-style: Add julienned carrots with garlic, ginger, and red pepper flakes for a quick lacto-fermented Korean-style carrot condiment.
Kitchen tips
- Use fresh, cold carrots for the best crunch.
- Keep everything clean — jars and tools should be washed and rinsed well, but sterilization is not necessary.
- If your kitchen is warm, check fermentation more often to avoid over-fermenting.
- If you see white film (kahm yeast), you can skim it off; if you see green, black, or fuzzy mold, discard the batch.
Storage, Freezing & Make-Ahead Tips
Storing in the fridge
- Once chilled, fermented carrots will keep well in the refrigerator for 1–3 months. Flavor slowly intensifies over time and texture softens gradually.
- Keep carrots submerged in brine and use clean utensils when removing pieces to prevent contamination.
Freezing
- Freezing fermented carrots is possible but not ideal. Freezing will break down the cell walls and change the texture to softer, mushier pieces when thawed. If you plan to cook with them (in stews or soups), freezing is fine and will preserve flavor.
- To freeze: drain some brine, pack carrots into a freezer-safe container leaving headspace, and freeze. Thawed carrots should be used within 2–3 months for best quality.
Make-ahead
- Fermented carrots are an excellent make-ahead condiment. Ferment a few jars at once when carrots are in season and keep them chilled. They’re great to have on hand for quick snacks, lunchboxes, grain bowls, and as a lively salad topper.
- Gift idea: Jarred fermented carrots make a thoughtful, homemade present for friends and family who enjoy homemade preserves. Include storage and serving notes.
Portioning advice
- Use pint jars for individual or small-family portions; quart jars work well for meal prep or sharing.
- If you open a jar, try to finish it within a few weeks to maintain peak texture and flavor.
How to Use / Serve This Dish
Serving ideas
- Snack straight from the jar for a crunchy probiotic-rich bite.
- Chop and add to salads, grain bowls, or tacos for brightness and crunch.
- Serve alongside hummus, labneh (strained yogurt), or a soft cheese for a colorful appetizer plate.
- Use as a topping on sandwiches, wraps, shawarma, or grilled vegetable bowls for added acidity and snap.
- Blend a few fermented carrots into dressings or vinaigrettes for tang and depth.
- Add to a mezze platter with olives, pickled cucumbers, and warm flatbreads.
Pairing suggestions (halal-friendly)
- Pair fermented carrots with roasted chicken, grilled eggplant, falafel, or kebabs (beef, lamb, or chicken), as the acidity cuts through rich flavors and brightens each bite.
- Include them with rice dishes, pilafs, and simple lentil stews to add texture and lively flavor.
Creative variations
- Quick fermented carrot relish: finely chop fermented carrots and mix with chopped herbs and a touch of olive oil for a zesty relish.
- Carrot pickle butter: blend softened butter with chopped fermented carrots, dill, and garlic for a savory spread perfect on warm bread or steamed vegetables.
FAQ
How salty should the brine be?
Aim for a 2% salt brine by weight for reliable fermentation — about 20 grams salt per 1 liter of water. If you don’t have a scale, roughly 1 tablespoon of salt per 2 cups of water works for small jars. Taste of the brine should be pleasantly saline but not overwhelmingly salty; the final pickles will mellow in the fridge.
Can I use table salt or iodized salt?
Avoid iodized table salt if possible, as additives can affect fermentation. Use sea salt, kosher salt, or pickling salt without anti-caking agents for best results.
My carrots turned cloudy or have bubbles — is that normal?
Yes. Cloudy brine and bubbles are normal signs of active fermentation as lactic acid bacteria produce gas and change the liquid. The smell should be tangy and slightly yeasty, not rotten. Keep an eye on any fuzzy, colored mold — if you see fuzzy mold or a strong rotten smell, discard the batch.
Can I substitute other vegetables?
Absolutely. You can ferment cauliflower, radishes, cucumbers, beets, or a mix of vegetables using the same brine technique. Adjust cut sizes and fermentation time based on density and thickness — root vegetables may take a little longer to achieve tang.
Conclusion
Fermented carrots are a joyful, seasonal project that rewards a little patience with bright, crunchy, probiotic-rich results you can enjoy in many ways. Whether you’re preserving an abundant harvest or simply experimenting with homemade ferments for the first time, this recipe is forgiving and versatile. If you’d like more inspiration or variations on fermented carrots, check out a few helpful guides and recipes: Fermented Carrots {that kids will actually eat!} & The Benefits of …, How to Make Fermented Carrots – Nourished Kitchen, and Lacto Fermented Korean Carrots | Beets & Bones. Give a jar a try this week, and if you love it, share a photo or recipe tweak — I’d love to hear how your batch turns out!
Fermented Carrots
Ingredients
Main Ingredients
- 4 cups Fresh carrots, cut into sticks Firm, blemish-free carrots for best texture.
- 1-3 cloves Garlic, sliced or lightly crushed Adjust amount based on preference.
- 1 tablespoon Non-iodized salt Use sea salt, pickling salt, or kosher salt.
- 4 cups Filtered or distilled water Avoid chlorinated tap water.
- to taste Fresh dill sprigs (or 1 tsp dried) Optional spices include red pepper flakes, mustard seeds, etc.
Instructions
Preparation
- Wash and cut the carrots into sticks.
- In a saucepan, heat water and dissolve salt to create a brine.
- Add garlic and dill (or other spices) to the brine.
- Place the carrot sticks in a clean jar and pour the brine over them, ensuring they are fully submerged.
- Seal the jar loosely to allow fermentation gases to escape.
- Let the carrots ferment at room temperature for 3–7 days, checking daily.
- Once fermented to your liking, seal the jar tightly and store in the fridge.