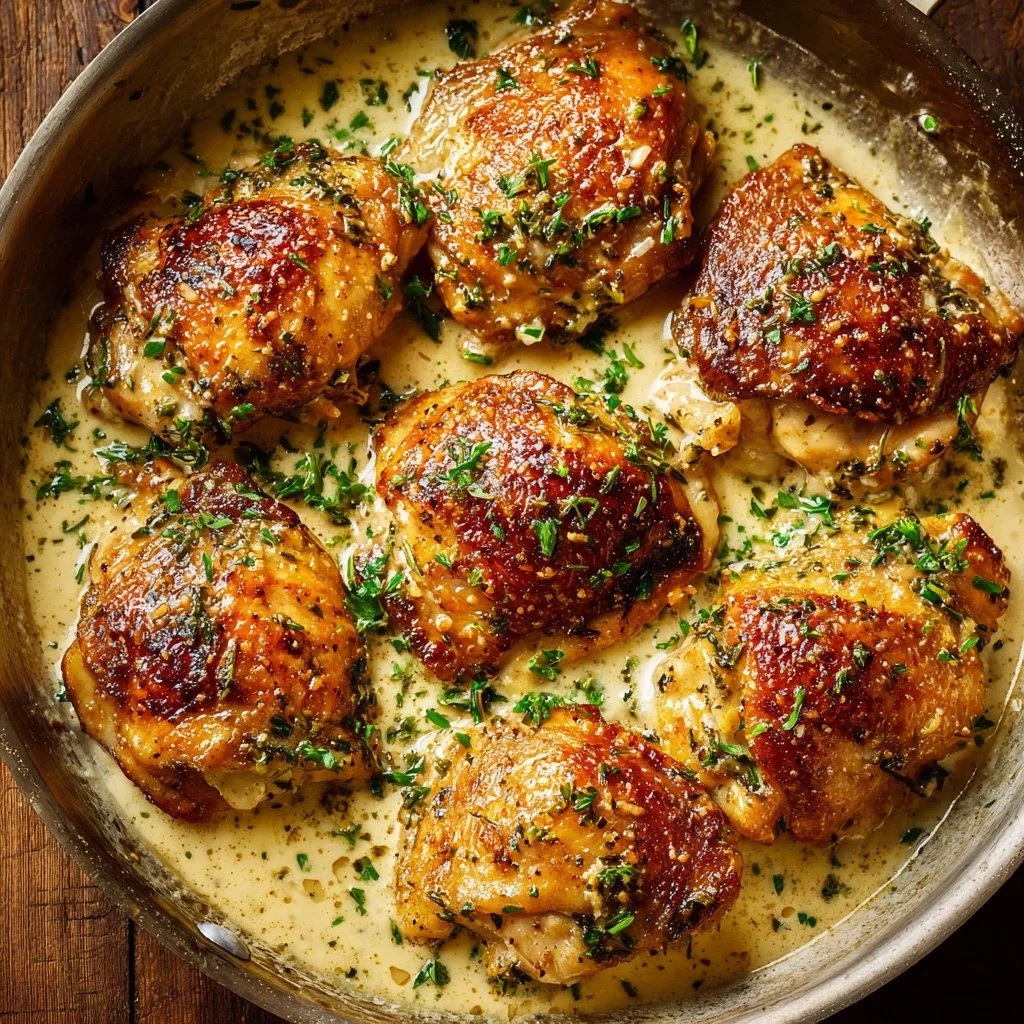
Cheesy Taco Rice Skillet is the kind of weeknight winner that feels like a warm hug on a chilly evening and a bright, comforting bowl on a sunny weekend. This one-skillet meal brings together seasoned lean ground beef, tender rice, melty cheese, beans, and sweet corn for a satisfying texture blend—creamy, slightly crisp at the edges, and packed with cozy, familiar flavors. It’s fast to make and ideal for seasonal vegetables (think late-summer sweet corn or winter-roasted peppers) and busy families who love from-scratch meals without fuss. If you enjoy cheesy comfort classics, you might also like this easy cheesy crock-pot buffalo chicken dip for entertaining—same warm, communal spirit.
Ingredients & Equipment
Ingredients
- 1 lb lean ground beef (use halal-certified beef if required)
- 1 can beans (black or pinto), drained and rinsed
- 1 cup corn (canned or frozen)
- 2 cups ready rice (instant or precooked)
- 1 cup shredded cheese (cheddar or Mexican blend)
- 1 packet taco seasoning
- 1/2 cup salsa (optional)
- Salt and pepper to taste
Notes
- Ready rice makes this dish very quick; if using leftover cooked rice, measure 2 cups loosely packed.
- Choose a shredded cheese you love: sharp cheddar gives a bold tang, while a Mexican blend melts extra-creamy.
- For a milder flavor, use half the taco seasoning or choose a low-sodium packet.
Helpful Tools / Equipment
- Large heavy-bottomed skillet (10–12-inch) with a lid (or an oven-safe skillet)
- Spatula or wooden spoon
- Measuring cups and spoons
- Colander (for draining beans)
- Cutting board and knife (if adding fresh vegetables)
- Optional: kitchen thermometer to check meat temperature, a small bowl for mixing, and an oven mitt if finishing under a broiler
For a heartier casserole-style finish, you can transfer the skillet to the oven—see tips in the Step-by-Step section. If you enjoy layered casserole recipes, check out this classic cheesy hamburger potato casserole for similar comfort-food vibes.
Step-by-Step Instructions (with tips)
Below is a clear, expanded version of the directions so you’ll feel confident making this skillet from start to finish. I’ve included variations and tips to help you tailor the recipe.
- Brown the meat
- Heat your large skillet over medium heat. Add the 1 lb of lean ground beef and cook, breaking it up with a spatula, until no pink remains and juices run clear—about 6–8 minutes.
- Tip: Use halal-certified ground beef if you follow halal dietary practices. For extra flavor, add a small pinch of salt and a few turns of black pepper while the meat cooks.
- Drain excess fat if needed by pouring it into a heatproof container or using a spoon to remove pools of fat; return the skillet to the heat.
- Add the beans, corn, and taco seasoning
- Stir in the drained and rinsed can of beans and 1 cup of corn. Sprinkle the packet of taco seasoning over the mixture and stir until everything is evenly coated and heated through—about 2–3 minutes.
- Tip: If using store-bought taco seasoning, you can add a splash (1–2 tablespoons) of water to help distribute the seasoning and avoid dry clumps. For homemade seasoning, taste and adjust spices to preference.
- Add the ready rice and salsa (if using)
- Add 2 cups ready rice (instant or precooked) and 1/2 cup salsa if you like added moisture and tang. Mix thoroughly so rice is evenly combined with the beef and vegetables. Cook another 2–4 minutes until everything is hot.
- Variation: If you prefer roasted flavors, swap canned/frozen corn for roasted corn kernels or toss in diced roasted peppers. For more texture, use brown ready rice—just note it may take slightly longer to heat through.
- Top with cheese and melt
- Reduce heat to low. Evenly sprinkle 1 cup shredded cheese over the top of the skillet. Cover the skillet with a lid and let sit for 2–4 minutes, until cheese melts.
- Alternate method: For a bubbly, slightly browned top, place the skillet under a preheated broiler for 1–2 minutes (use an oven mitt and a broiler-safe skillet). Watch carefully to prevent burning.
- Tip: For extra creaminess, stir half the cheese into the mixture before topping, then add remaining cheese and cover to melt.
- Season and serve
- Taste and season with salt and pepper to your liking. Scoop warm portions onto plates or bowls and garnish with fresh cilantro, chopped green onions, sliced avocado, or a dollop of plain yogurt or labneh for cooling contrast.
- Tip: If the skillet seems dry after reheating later, stir in a splash of chicken or vegetable broth (1–2 tablespoons) to revive moisture.
Variations and swaps
- Swap ground beef for halal ground turkey or chicken for a lighter version, or use a plant-based ground alternative for a vegetarian-friendly meal (increase beans and veggies to boost protein).
- Make it spicier by adding chopped jalapeños, a pinch of cayenne, or a spicy salsa.
- For a lower-carb option, stir in cauliflower rice (2 cups) instead of ready rice; cook slightly longer to soften the cauliflower.
Kitchen tips
- If you like a crunchy edge to your rice, press the mixture into an even layer and let it cook uncovered on medium-low for a few extra minutes before adding cheese—this encourages a golden crust.
- When using frozen corn, thaw quickly in a microwave-safe bowl or sauté briefly with the meat to avoid excess moisture.
Try a cheesy turkey and vegetable twist if you want inspiration for turning skillet leftovers into a casserole-style bake.
Storage, Freezing & Make-Ahead Tips
Storing leftovers
- Refrigerate: Transfer leftovers to an airtight container and refrigerate within two hours of cooking. Properly stored, the Cheesy Taco Rice Skillet will keep 3–4 days in the refrigerator.
- Portioning: Divide into single-serving containers for easy grab-and-go lunches and simple reheating.
Freezing
- To freeze, let the dish cool completely, then portion into freezer-safe containers or heavy-duty freezer bags. Press out excess air and label with the date.
- Shelf life in freezer: Up to 3 months for best quality. Beyond that, texture and flavor may degrade.
- Thawing and reheating: Thaw overnight in the refrigerator, then reheat gently in a skillet over medium-low heat, stirring occasionally. Add a splash of broth or water if the rice has dried out. You can also reheat in the microwave, covered, stirring halfway through to ensure even heating.
Make-ahead tips
- Make the beef, bean, and corn base a day ahead and store it separately from the rice and cheese. Assemble and melt the cheese just before serving for maximum freshness.
- If cooking for guests, keep the skillet warm over very low heat and add cheese right before serving so it’s gooey and inviting.
Freezing cheese notes
- Cooked-and-frozen cheese can change texture, becoming slightly crumbly after thawing. If freezing the dish, consider adding a handful of fresh shredded cheese on top before reheating to restore that freshly-melted appeal.
How to Use / Serve This Dish
Serving ideas
- Family-style main: Serve the skillet straight from the stove for a cozy family meal. Provide bowls of toppings—chopped cilantro, diced tomatoes, sliced olives, avocado, lime wedges, and plain yogurt or labneh—so everyone can customize.
- Stuffed peppers or bowls: Spoon warmed leftovers into halved roasted bell peppers or warmed pita pockets for handheld meals.
- Plate with sides: A simple mixed green salad with a citrus vinaigrette or a crunchy slaw adds brightness and crunch to balance the rich cheese and seasoned beef.
- For meal prep: Portion into microwave-safe containers with a side of fresh vegetables or a small salad. Top with fresh avocado only when serving to avoid browning.
Creative uses
- Nacho upgrade: Spread warmed Cheesy Taco Rice Skillet over baked tortilla chips and add extra cheese for a loaded nacho tray—great for gatherings or family movie night.
- Baked rice boats: Scoop mixture into halved zucchinis or winter squashes and bake until tender for a seasonal presentation.
- Breakfast twist: Reheat and top with a fried egg for a hearty brunch-style bowl.
Flavor pairings
- Use bright citrus (lime wedges) and cooling elements (plain yogurt or labneh) to balance richness.
- Fresh herbs like cilantro or parsley add a leafy freshness and aromatic lift.
FAQ
Q: Can I substitute the ground beef with chicken or turkey?
A: Yes—ground chicken or turkey work well and make the dish a bit lighter. If using poultry, adjust cooking time until meat reaches a safe internal temperature and season to taste; poultry may benefit from an extra pinch of salt or a squeeze of lime for brightness.
Q: How long will the Cheesy Taco Rice Skillet keep in the fridge?
A: Stored in an airtight container, the skillet will stay good for 3–4 days. Reheat thoroughly to steaming (165°F or 74°C if using a thermometer) before serving. If you plan to keep it longer, freeze portions for up to 3 months.
Q: Can I make this vegetarian?
A: Absolutely. Replace the ground beef with extra beans, lentils, or a plant-based ground alternative. Add more vegetables like bell peppers, zucchini, or mushrooms for bulk and flavor. Adjust seasonings to taste since some meat substitutes are already seasoned.
Q: What’s the best way to reheat frozen portions without drying them out?
A: Thaw overnight in the refrigerator. Reheat in a skillet over medium-low heat with a splash of broth or water, stirring occasionally until warmed through. For convenience, microwave in short intervals, stirring between rounds and adding moisture if needed.
Conclusion
Cheesy Taco Rice Skillet is a versatile, comforting recipe that lives up to its name—cheesy, bold, and simple to pull together on any seasonal evening when you want ease and flavor. It’s a great weeknight centerpiece, a reliable potluck option, and a perfect recipe for adapting with whatever produce or proteins you have on hand. If you’re inspired to explore similar one-pan, cheesy rice-and-protein dishes, take a look at Mexican Cheesy Taco Beef and Rice Skillet – Modern Honey for a close cousin, or try the festive spin in Cheesy Fiesta Taco Rice – Cooking in the Midwest. For a version centered around queso and extra creaminess, see Taco Rice with Queso – South Your Mouth, and for another simple skillet riff, visit Cheesy Taco Rice Skillet – I Wash You Dry. Give this recipe a try this week—serve it up, customize with your favorite toppings, and share a photo or story of how your family made it their own.

Cheesy Taco Rice Skillet
Ingredients
Main ingredients
- 1 lb lean ground beef Use halal-certified beef if required
- 1 can beans (black or pinto), drained and rinsed
- 1 cup corn (canned or frozen)
- 2 cups ready rice (instant or precooked) If using leftover cooked rice, measure 2 cups loosely packed
- 1 cup shredded cheese (cheddar or Mexican blend) Use a cheese you love for better flavor
- 1 packet taco seasoning For milder flavor, use half the seasoning or a low-sodium packet
- ½ cup salsa (optional)
- Salt and pepper to taste
Instructions
Brown the meat
- Heat your large skillet over medium heat. Add the lean ground beef and cook, breaking it up with a spatula, until no pink remains—about 6–8 minutes.
- Drain excess fat if needed, then return the skillet to the heat.
Add the beans, corn, and taco seasoning
- Stir in the drained beans and corn. Sprinkle the taco seasoning over and stir until evenly coated—about 2–3 minutes.
Add the ready rice and salsa
- Add the ready rice and salsa (if using), mixing thoroughly. Cook another 2–4 minutes until everything is hot.
Top with cheese and melt
- Reduce heat to low. Evenly sprinkle shredded cheese over the skillet and cover, letting it sit for 2–4 minutes to melt.
Season and serve
- Taste and season with salt and pepper to your liking. Serve warm with your choice of garnishes.